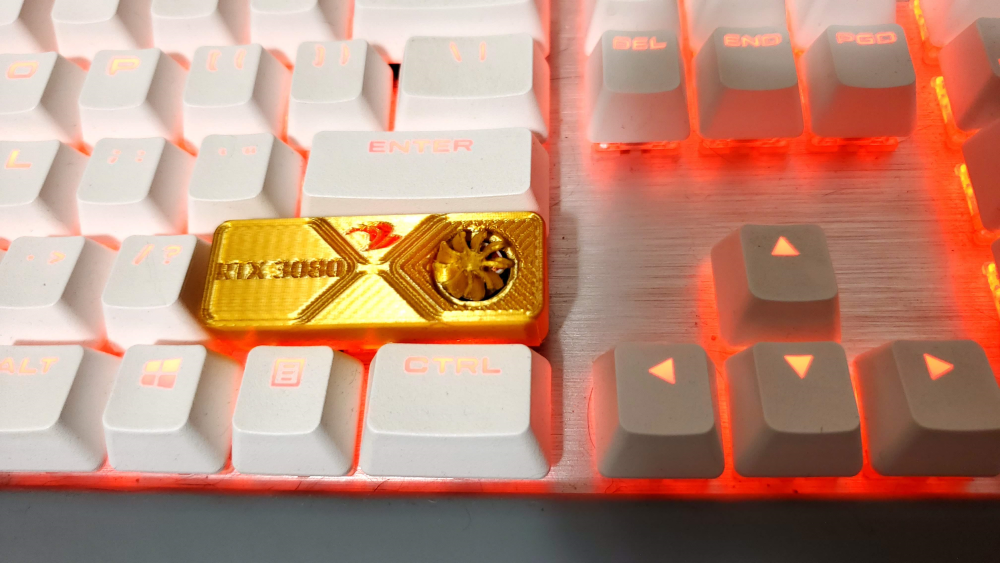
3D Printed RTX 3080 Keycap with working fan
The Printer
I recently purchased a used Artillery Sidewinder X1 on Amazon which sadly arrived broken. It kept producing "slanted" prints like this:
Fortunately Artillery had a great customer service, they helped me try different things to resolve the issue and when none of them worked sent me a replacement motherboard for the printer. Once I swapped the old motherboard for the new one it worked perfectly. I'm very happy with this printer and I definitely recommend it!

To control the printer I installed Ocotprint on a used Raspberry Pi I found on Marketplace. Using balena to manage the RPI made it super easy to monitor and update the images, I was able to add a pi-hole instance running on the side to block ADs on the network. Of course I printed a case for the RPI using the printer. In addition, I installed a relay inside the X1 directly in series with the On/Off switch and connected it to the RPI's GPIO pins so that I can turn the printer On/Off from the Octoprint interface.

The Design
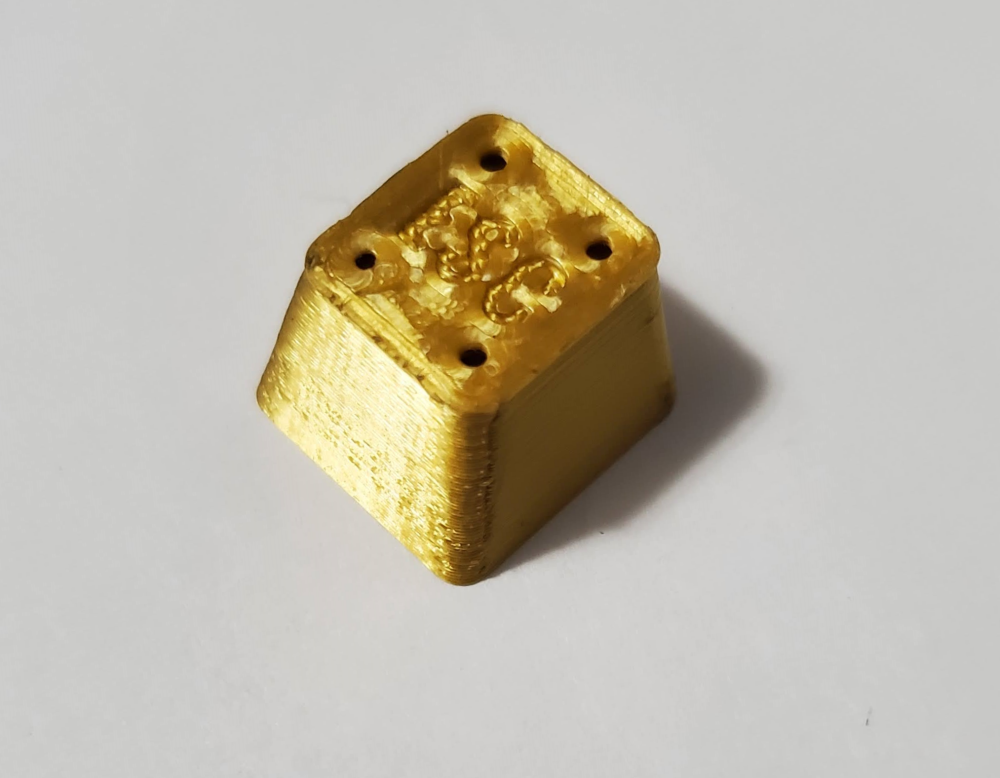
When you get a 3D printer you start looking for anything to print, it's very exciting to see things appear before your eyes, it gives you a whole new creative power. I wondered if there was any keycap model to print, I found some, customized them a little to see what could be done. Here's a simple Escape key, I added 4 little holes so you could still see the rgb light of the key.
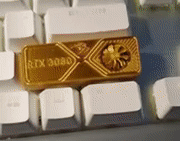
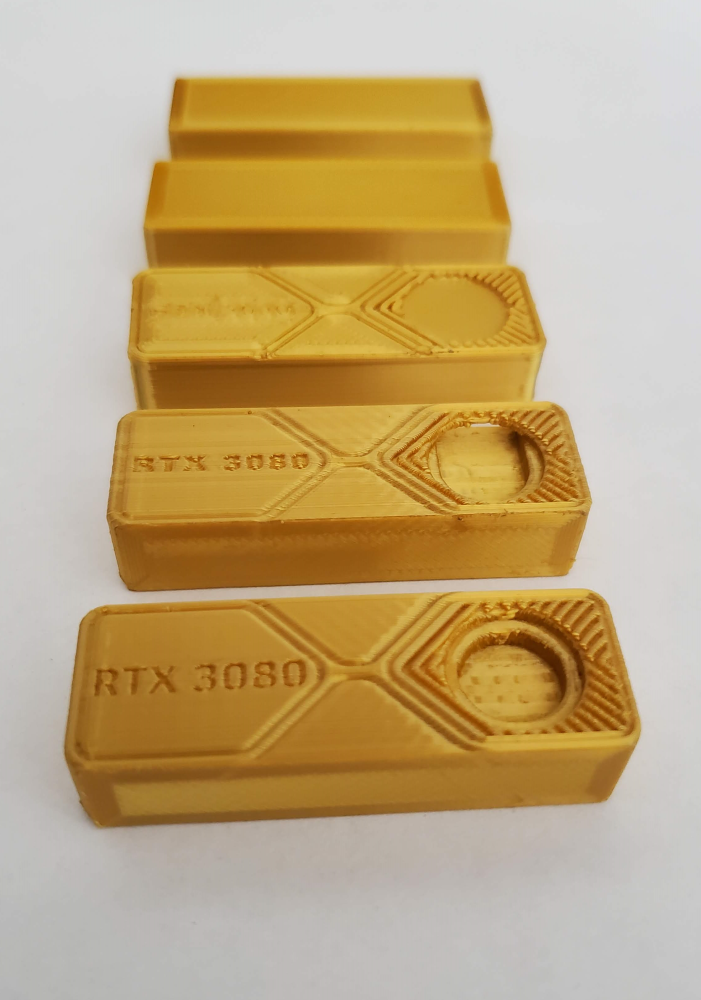
Then I wanted to make one that would be more interesting, I asked my friends for inspiration and one of them sent me an image of a keycap in the shape of an RTX 3080, some even had a little fan that you could turn using your finger or by gently blowing on it. This gave me an idea, why not make one with an actual working fan?
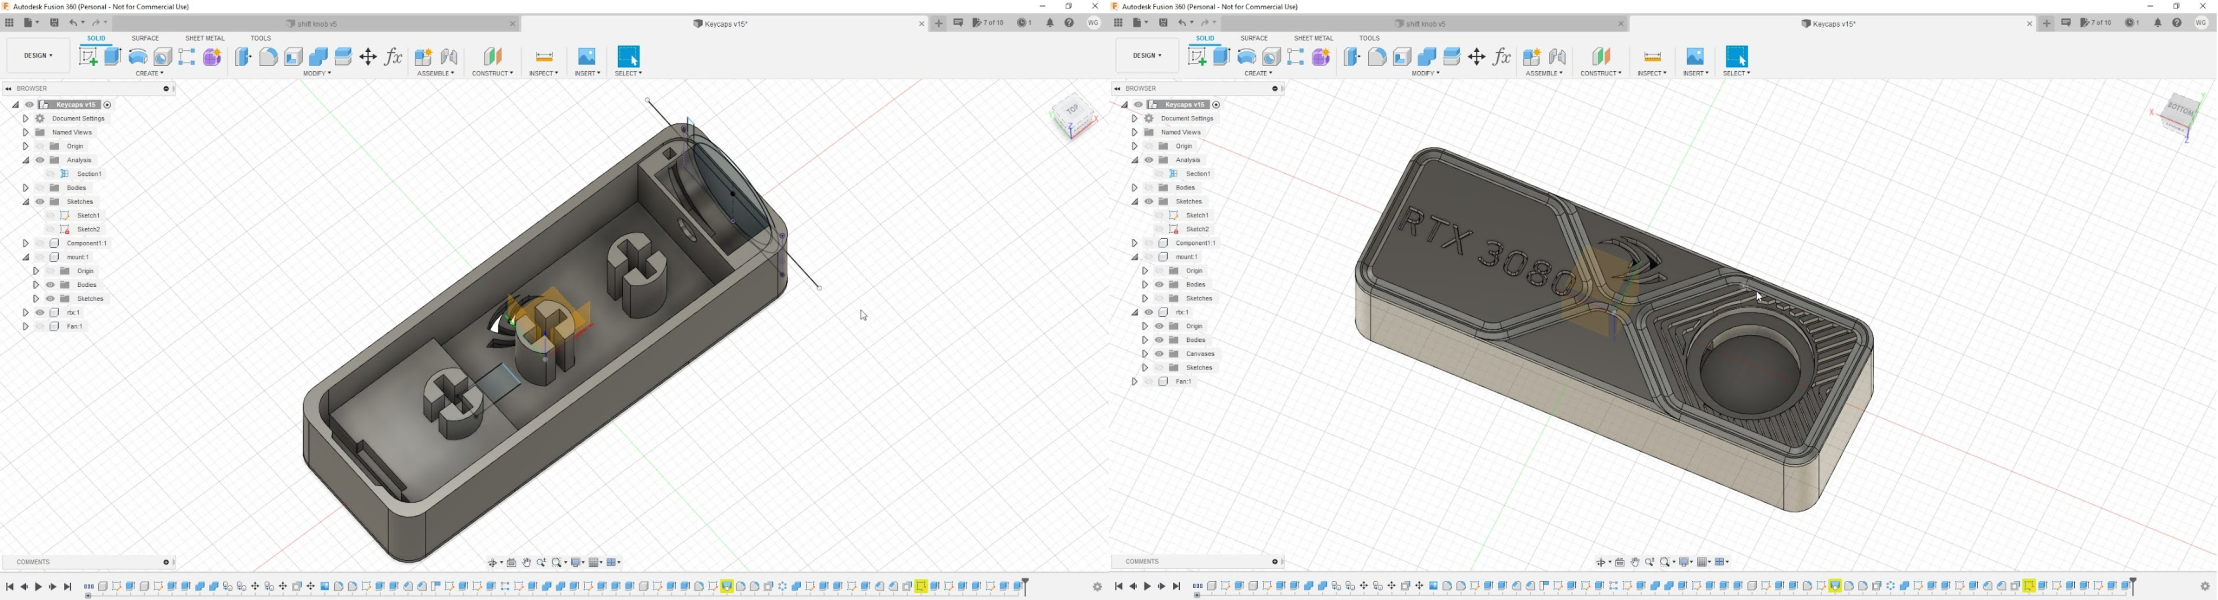
The Modeling
It was my first real CAD project, I had done a couple of simple shapes in Fusion 360 before but this was far more complex. It was quite an iterative process, in retrospect I could have tried to make it more complete before trying to print it each time. At least it was quite a small print so it didn't take too long to print and didn't was too much material. It took a couple of tries to get the keycap to properly fit on my keyboard and hold in place but once I found the perfect measures it felt like just any other key.
I originally planned to spray paint it black and highlight the edges with a silver sharpie but after multiple unsatisfying attempts I abandoned that idea. One of the things that made it quite hard was that I wanted the letters to stay in the color of the PLA filament, I thought it would be easy to just plug them with some play dough and over it, then simply remove the play dough but it turned out much harder. The play dough wasn't really sticking to the plastic so it was really hard to get it to stay inside the indentation of the letters. Even when I managed to fill all the letters, after painting it and spending way too long removing the play dough, the result wasn't uniform enough. Maybe I'll revisit this idea, maybe if I find something else to plug the indentations, let me know if you have any suggestions!
It actually took at least twice as many as that.
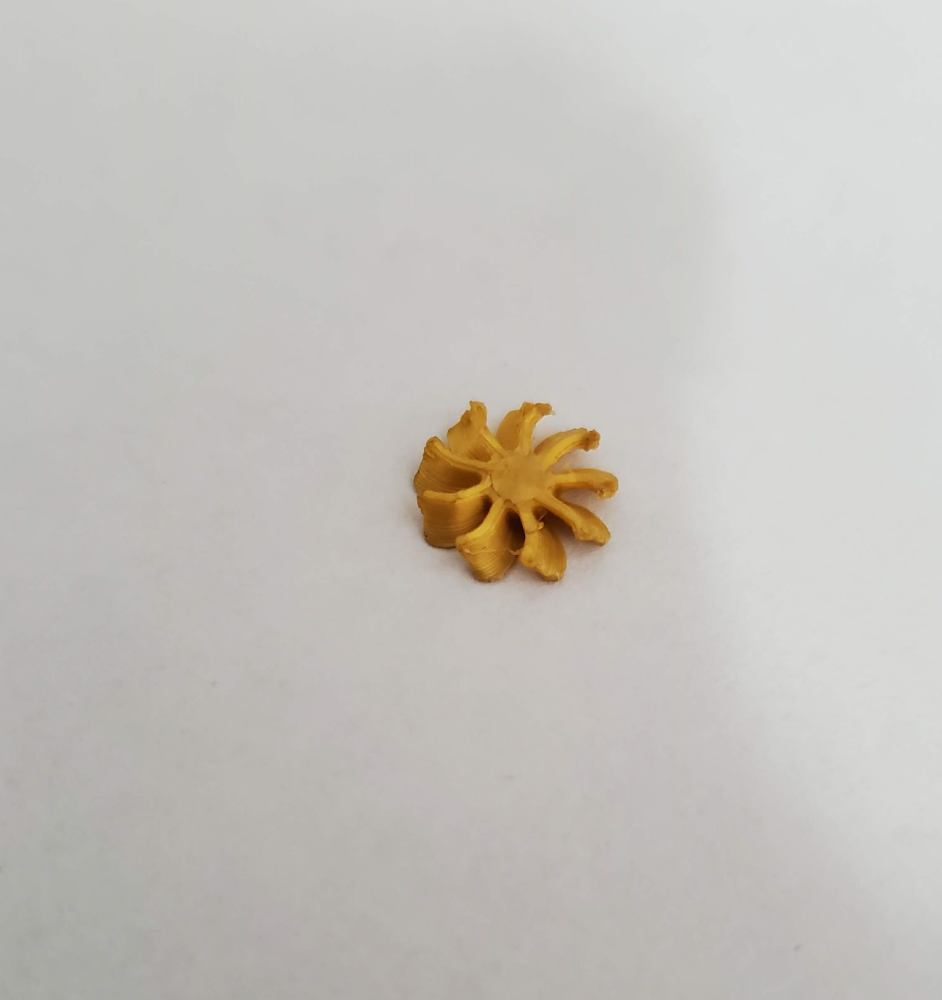
The Fan
The fan was surprisingly easy to model and print even though it's quite small. It's hard to remember how small some details are when you do CAD, I spent some time adding bevels and get the shape right just to realize afterwards that they won't really make any difference at this size.
To turn the fan I needed a really small motor. I used a little 3V vibration module which I had bought to add haptic feedback to a different project. After removing the case of the module you can see a little rotor with two coils and a weight. Carefully removing the weight leaves you with a mostly balanced rotor that won't vibrate.
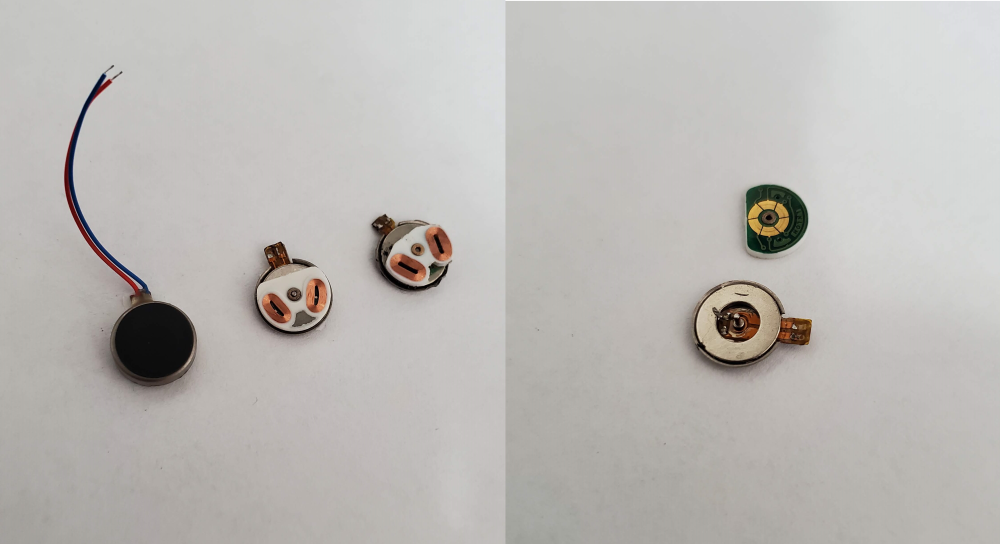
Under the rotor is a ring magnet and two tiny brushes used to send the current to the rotor's coils. After gluing the fan to the rotor I had to very carefully adjust the position of those brushes so that the correct tension to hold the fan assembly up but not so far that it would jump out or have the brushes not make contact with the contacts. This actually took some time to get working properly. Another thing that took some time is that when removing the case of the vibration module it's extremely easy to disconnect the wires and I couldn't manage to solder them back in place. I actually ended up destroying many modules before finding the perfect technique.
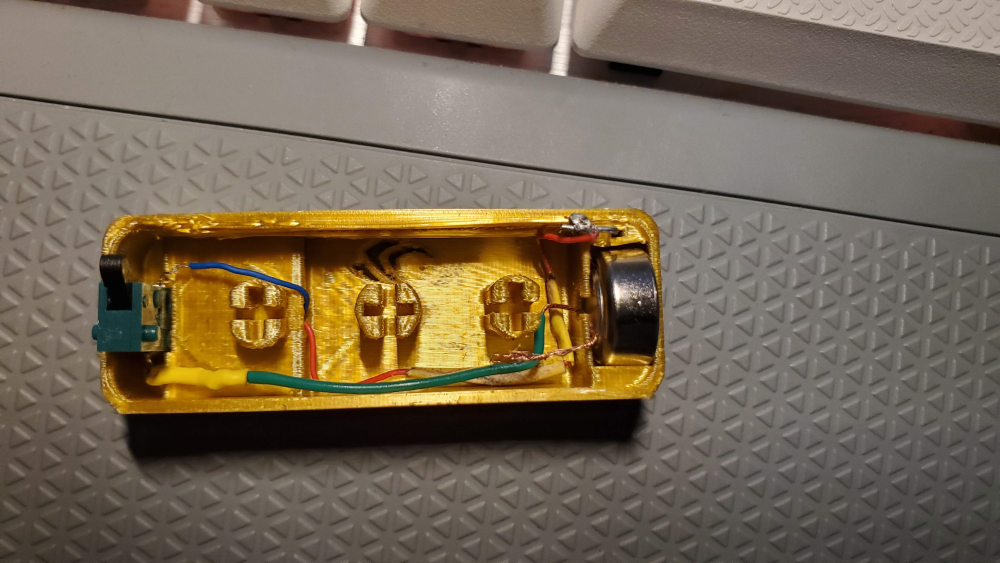
The Assembly
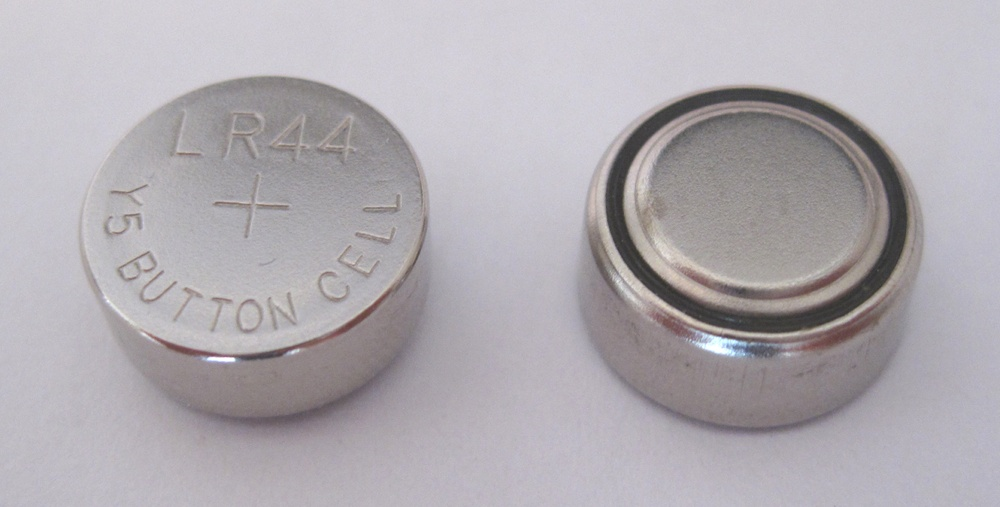
Only things left was to fit a battery and a switch. My first instinct was to go to the pharmacie, where I knew they had multiple models of tiny batteries. Those turned too expensive for what they are and I just bought the more common LR44 button cell battery. It's slightly larger size than I had anticipated meant that I could only fit a single cell, giving me only 1.5V instead of the 3V the motor is supposed to run on. This didn't cause any issue as the motor still turned and I just went with it.
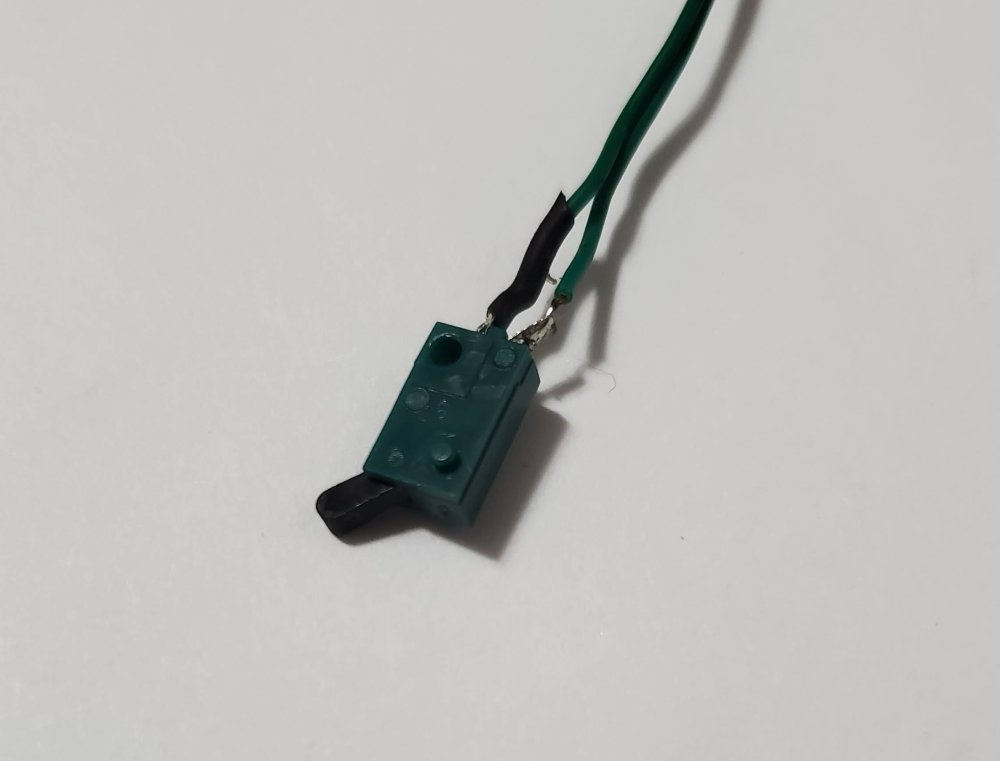
For the switch I found one in my miscellaneous parts box that just happened to fit perfectly. It wasn't too big, gave barely any resistance when pressed and was just long enough that you don't have to press the key much before it starts making contact.
For the wiring I simply connected everything in series so the motor would turn when the switch is pressed.
The Result
The result is a nice golden keycap that fits very nicely and has a fan that turns when you press on the key. Even I was surprised when I got it complete, the whole project sounded a bit crazy when I first started.